Admin Area
Intro
CrossBox features a simple to use administration interface which is used for managing a CrossBox server.
Accessing Admin Area
To access the administration, visit your CrossBox URL and log in by using your admin credentials.
Restoring access to Admin Area
If you lost or forgot your admin credentials, these are the CLI commands that you can run via SSH (as root) to restore them:
$: crossbox info - get general information about the CrossBox installation
$: crossbox admin password - change admin password
$: crossbox admin email - change admin email address
Adding a Domain (Standalone only)
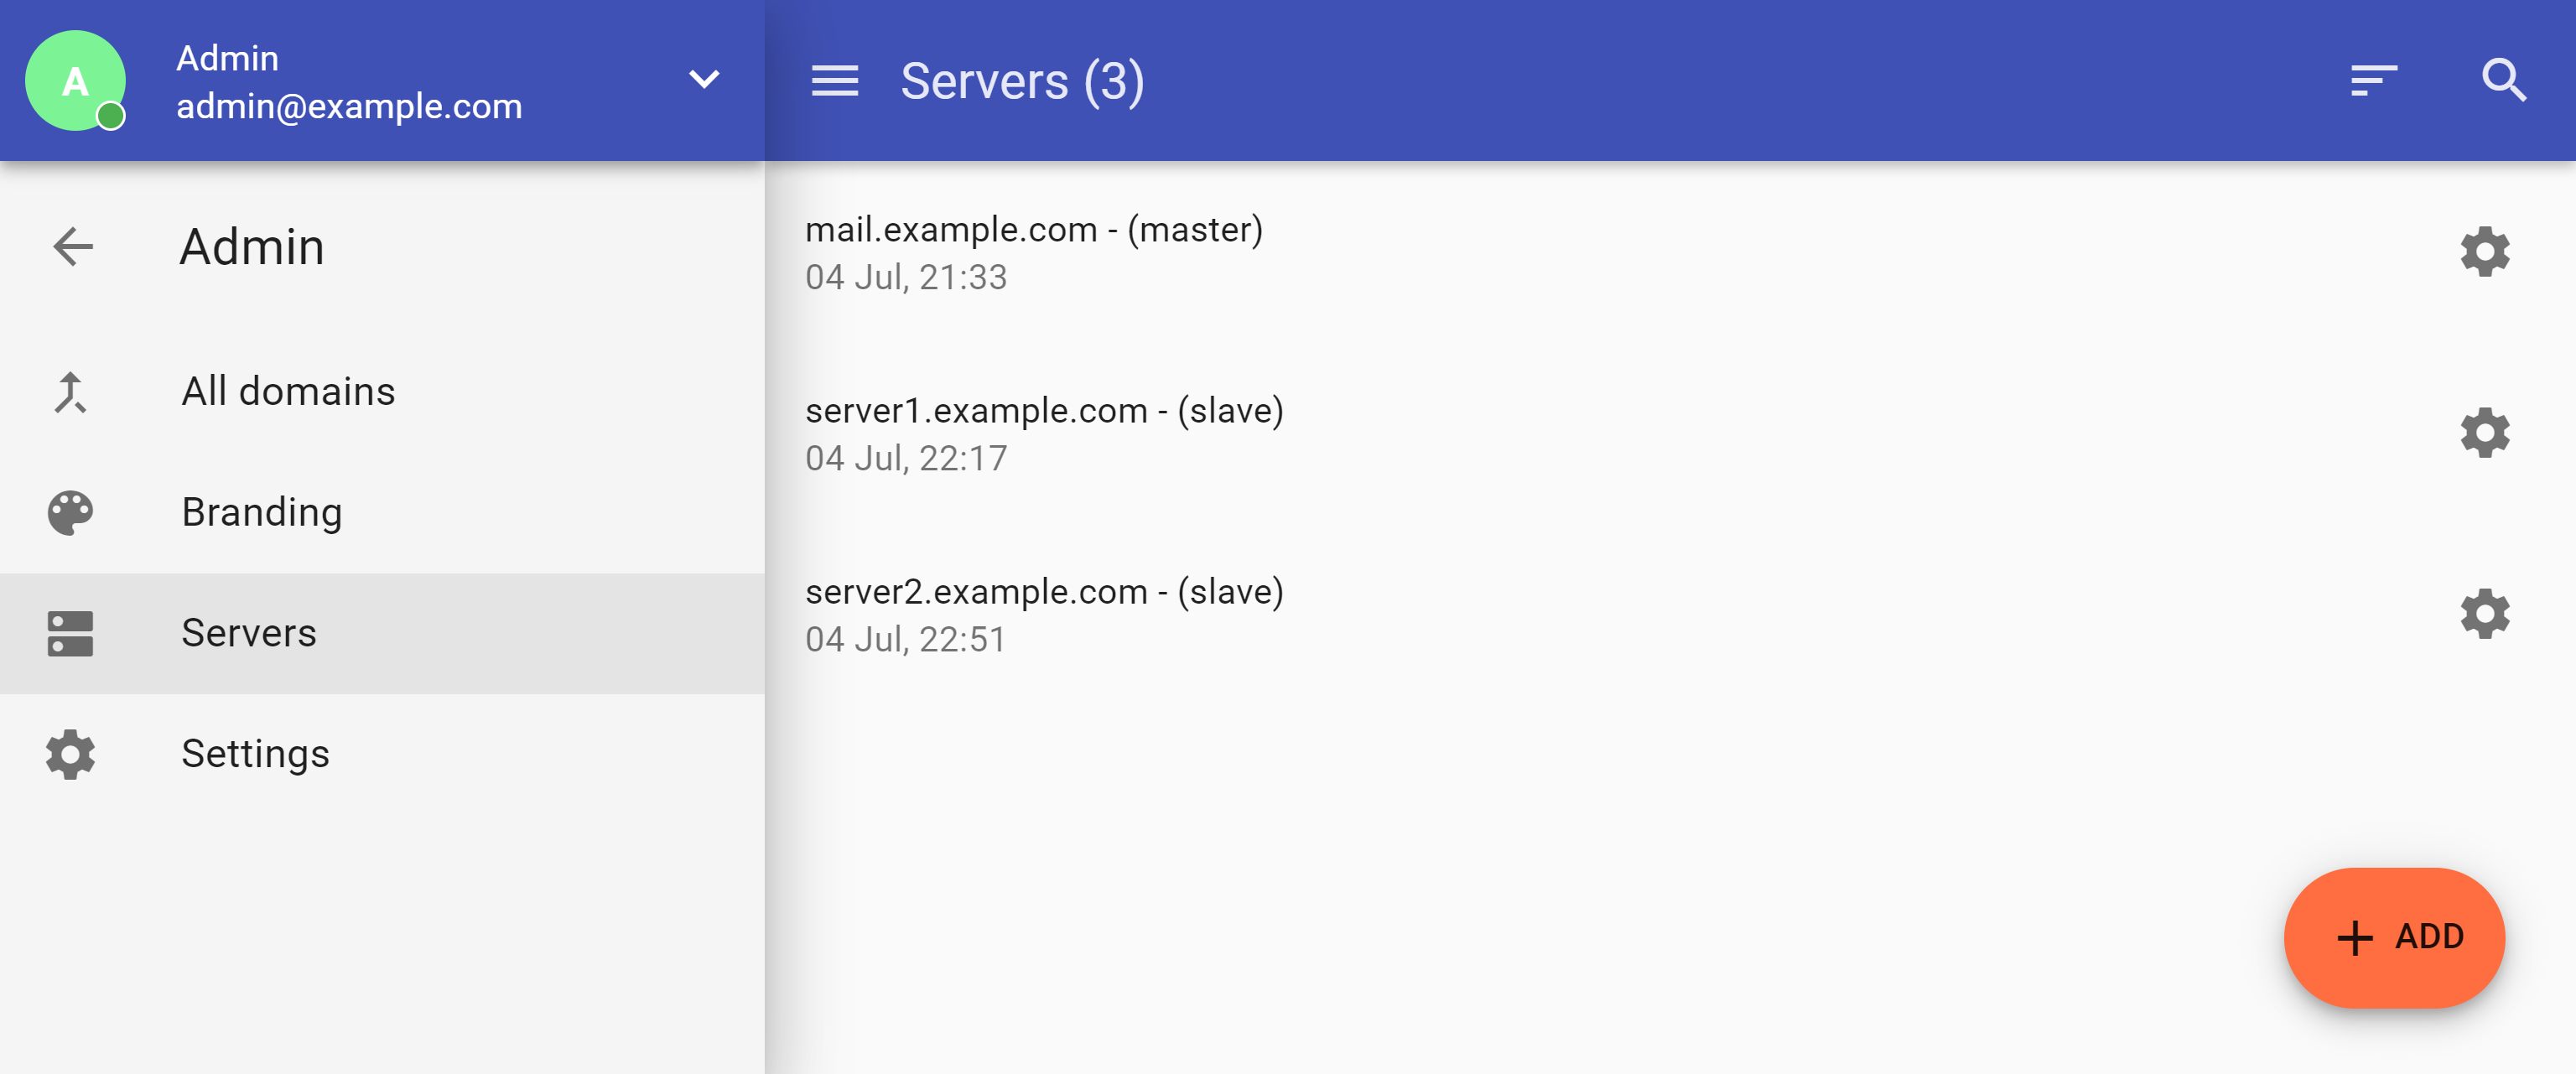
- Go to Admin -> Servers
- Pick a server where you want the domain to reside
- Go to Domains -> Click on the FAB button in the bottom-right corner
- Fill in the form:
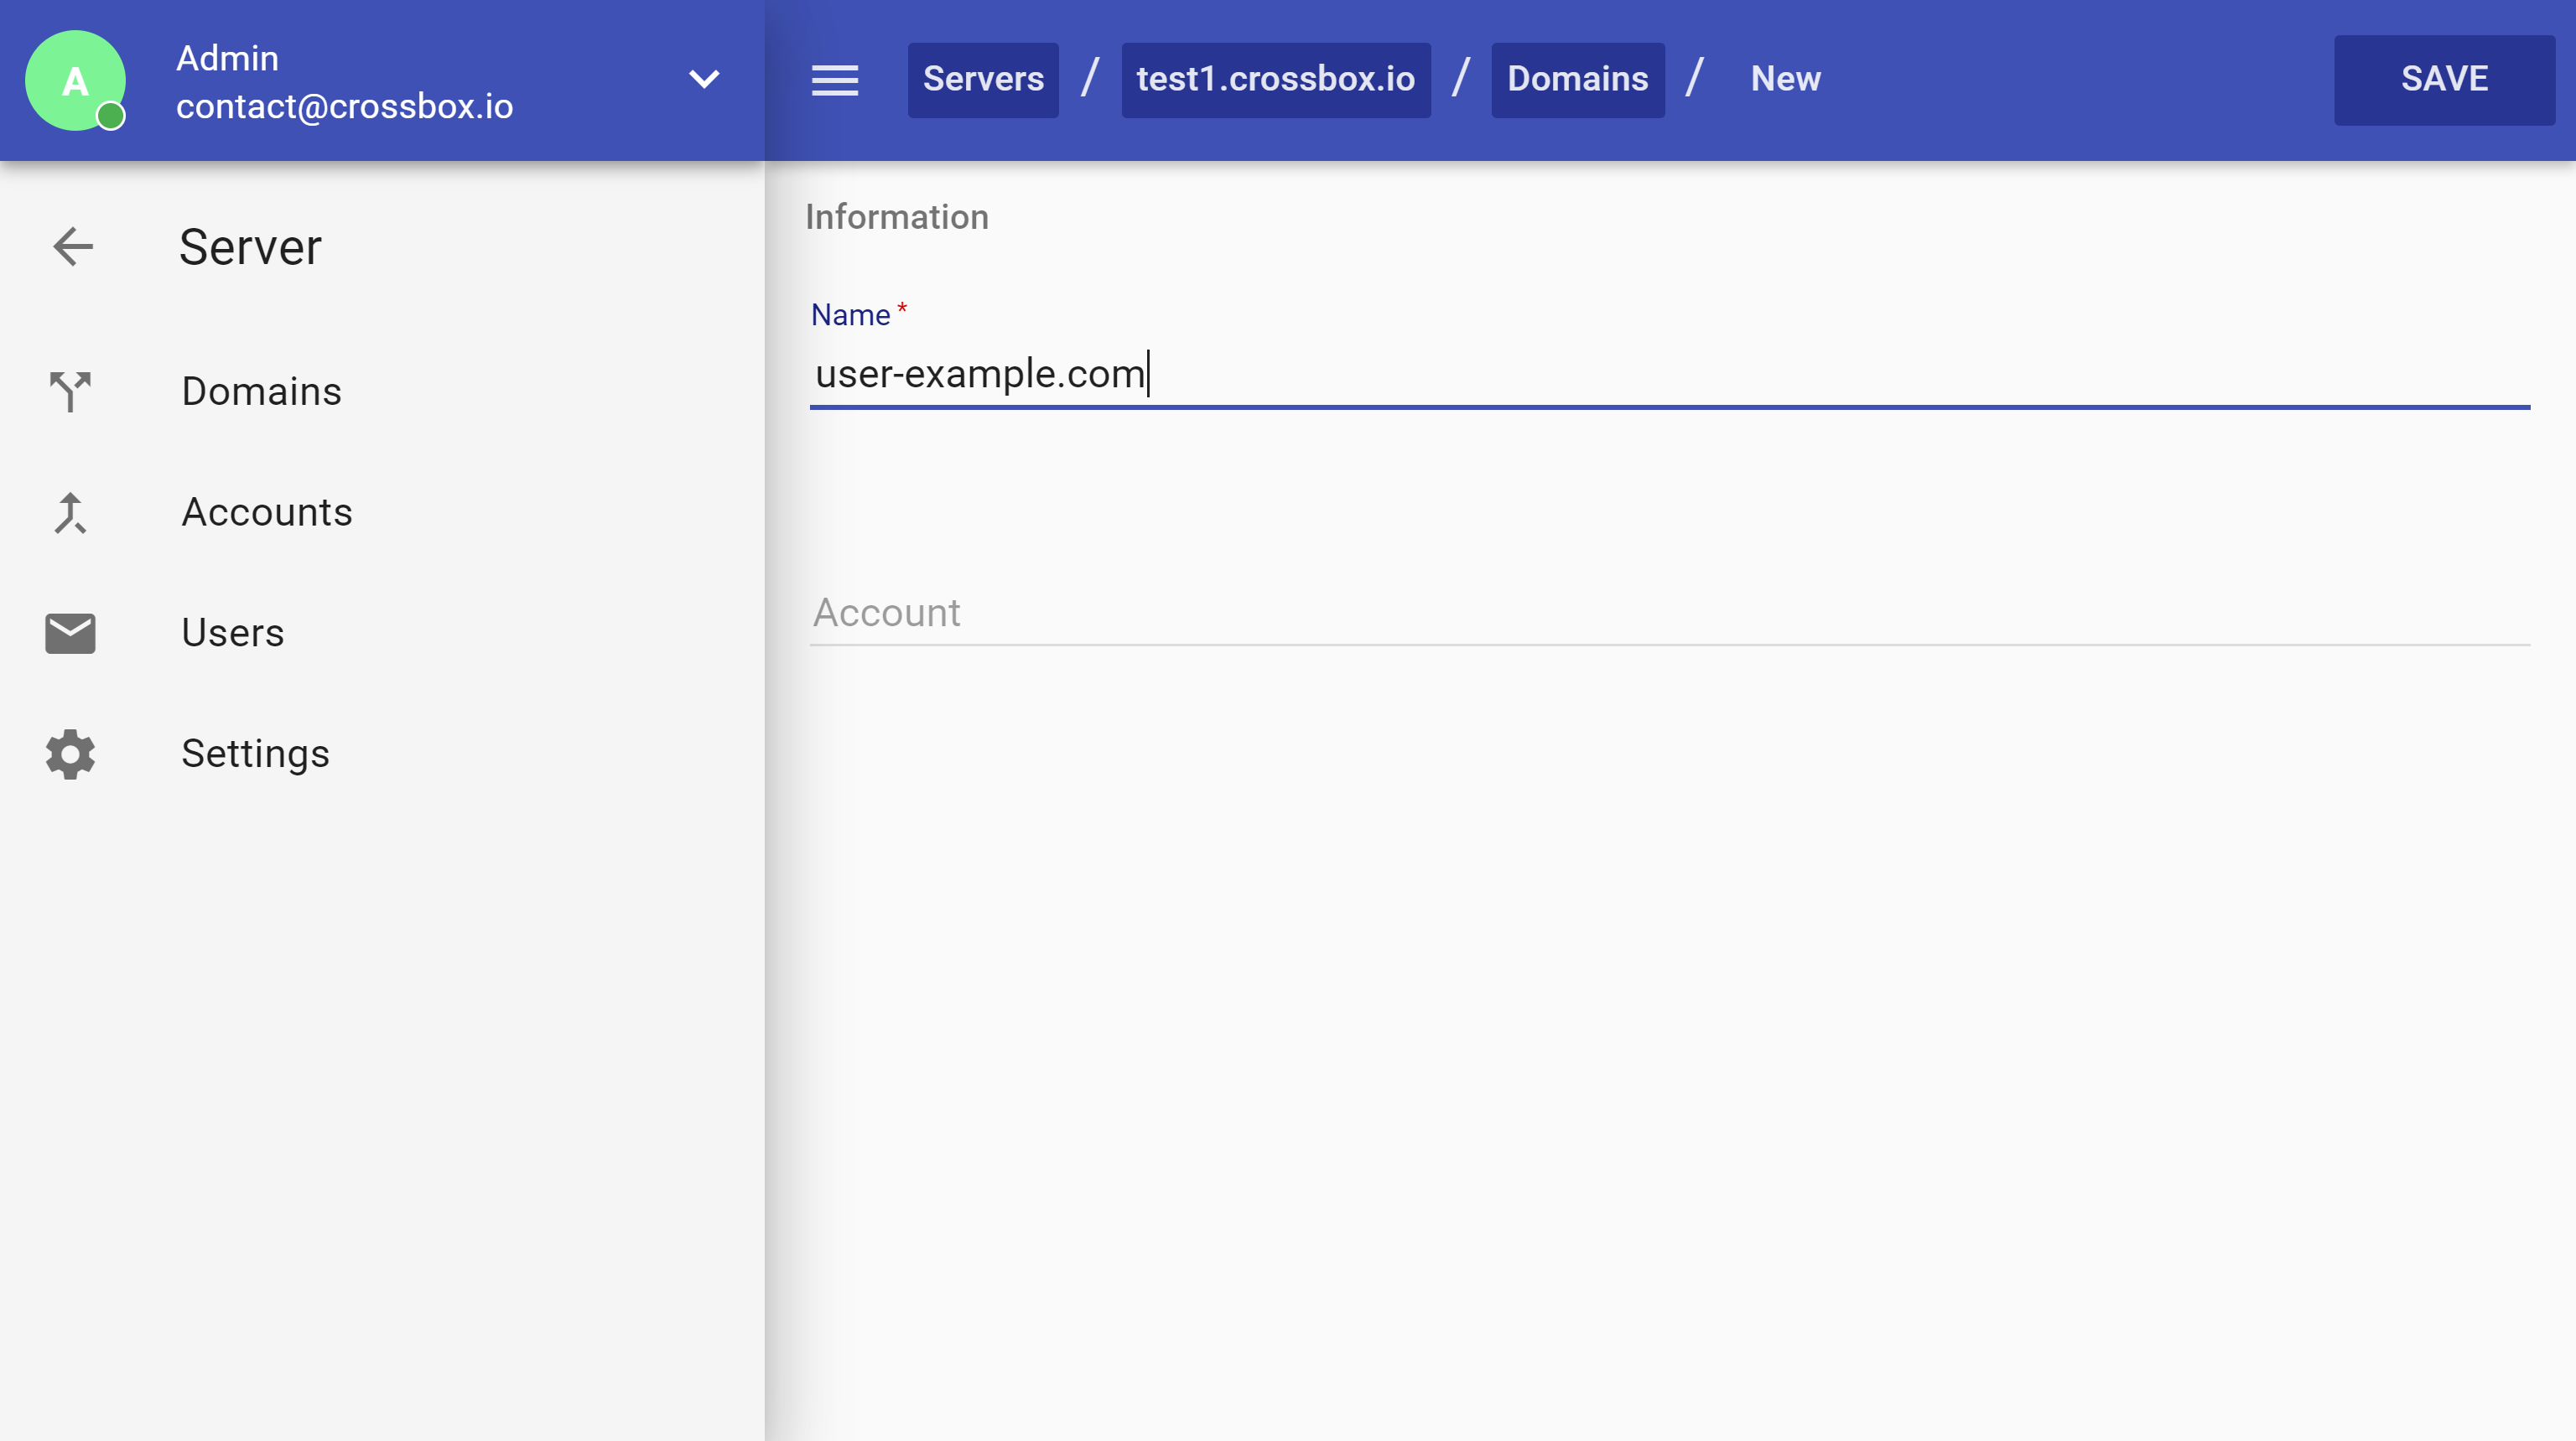
- A name is the domain's name.
- An account is a Linux user that you wish to associate with the domain. If you don't have one, please add a Linux user first by going to the "Accounts" in the side nav.
- Make sure that the domain's DNS zone has an MX record pointing to the CrossBox server.
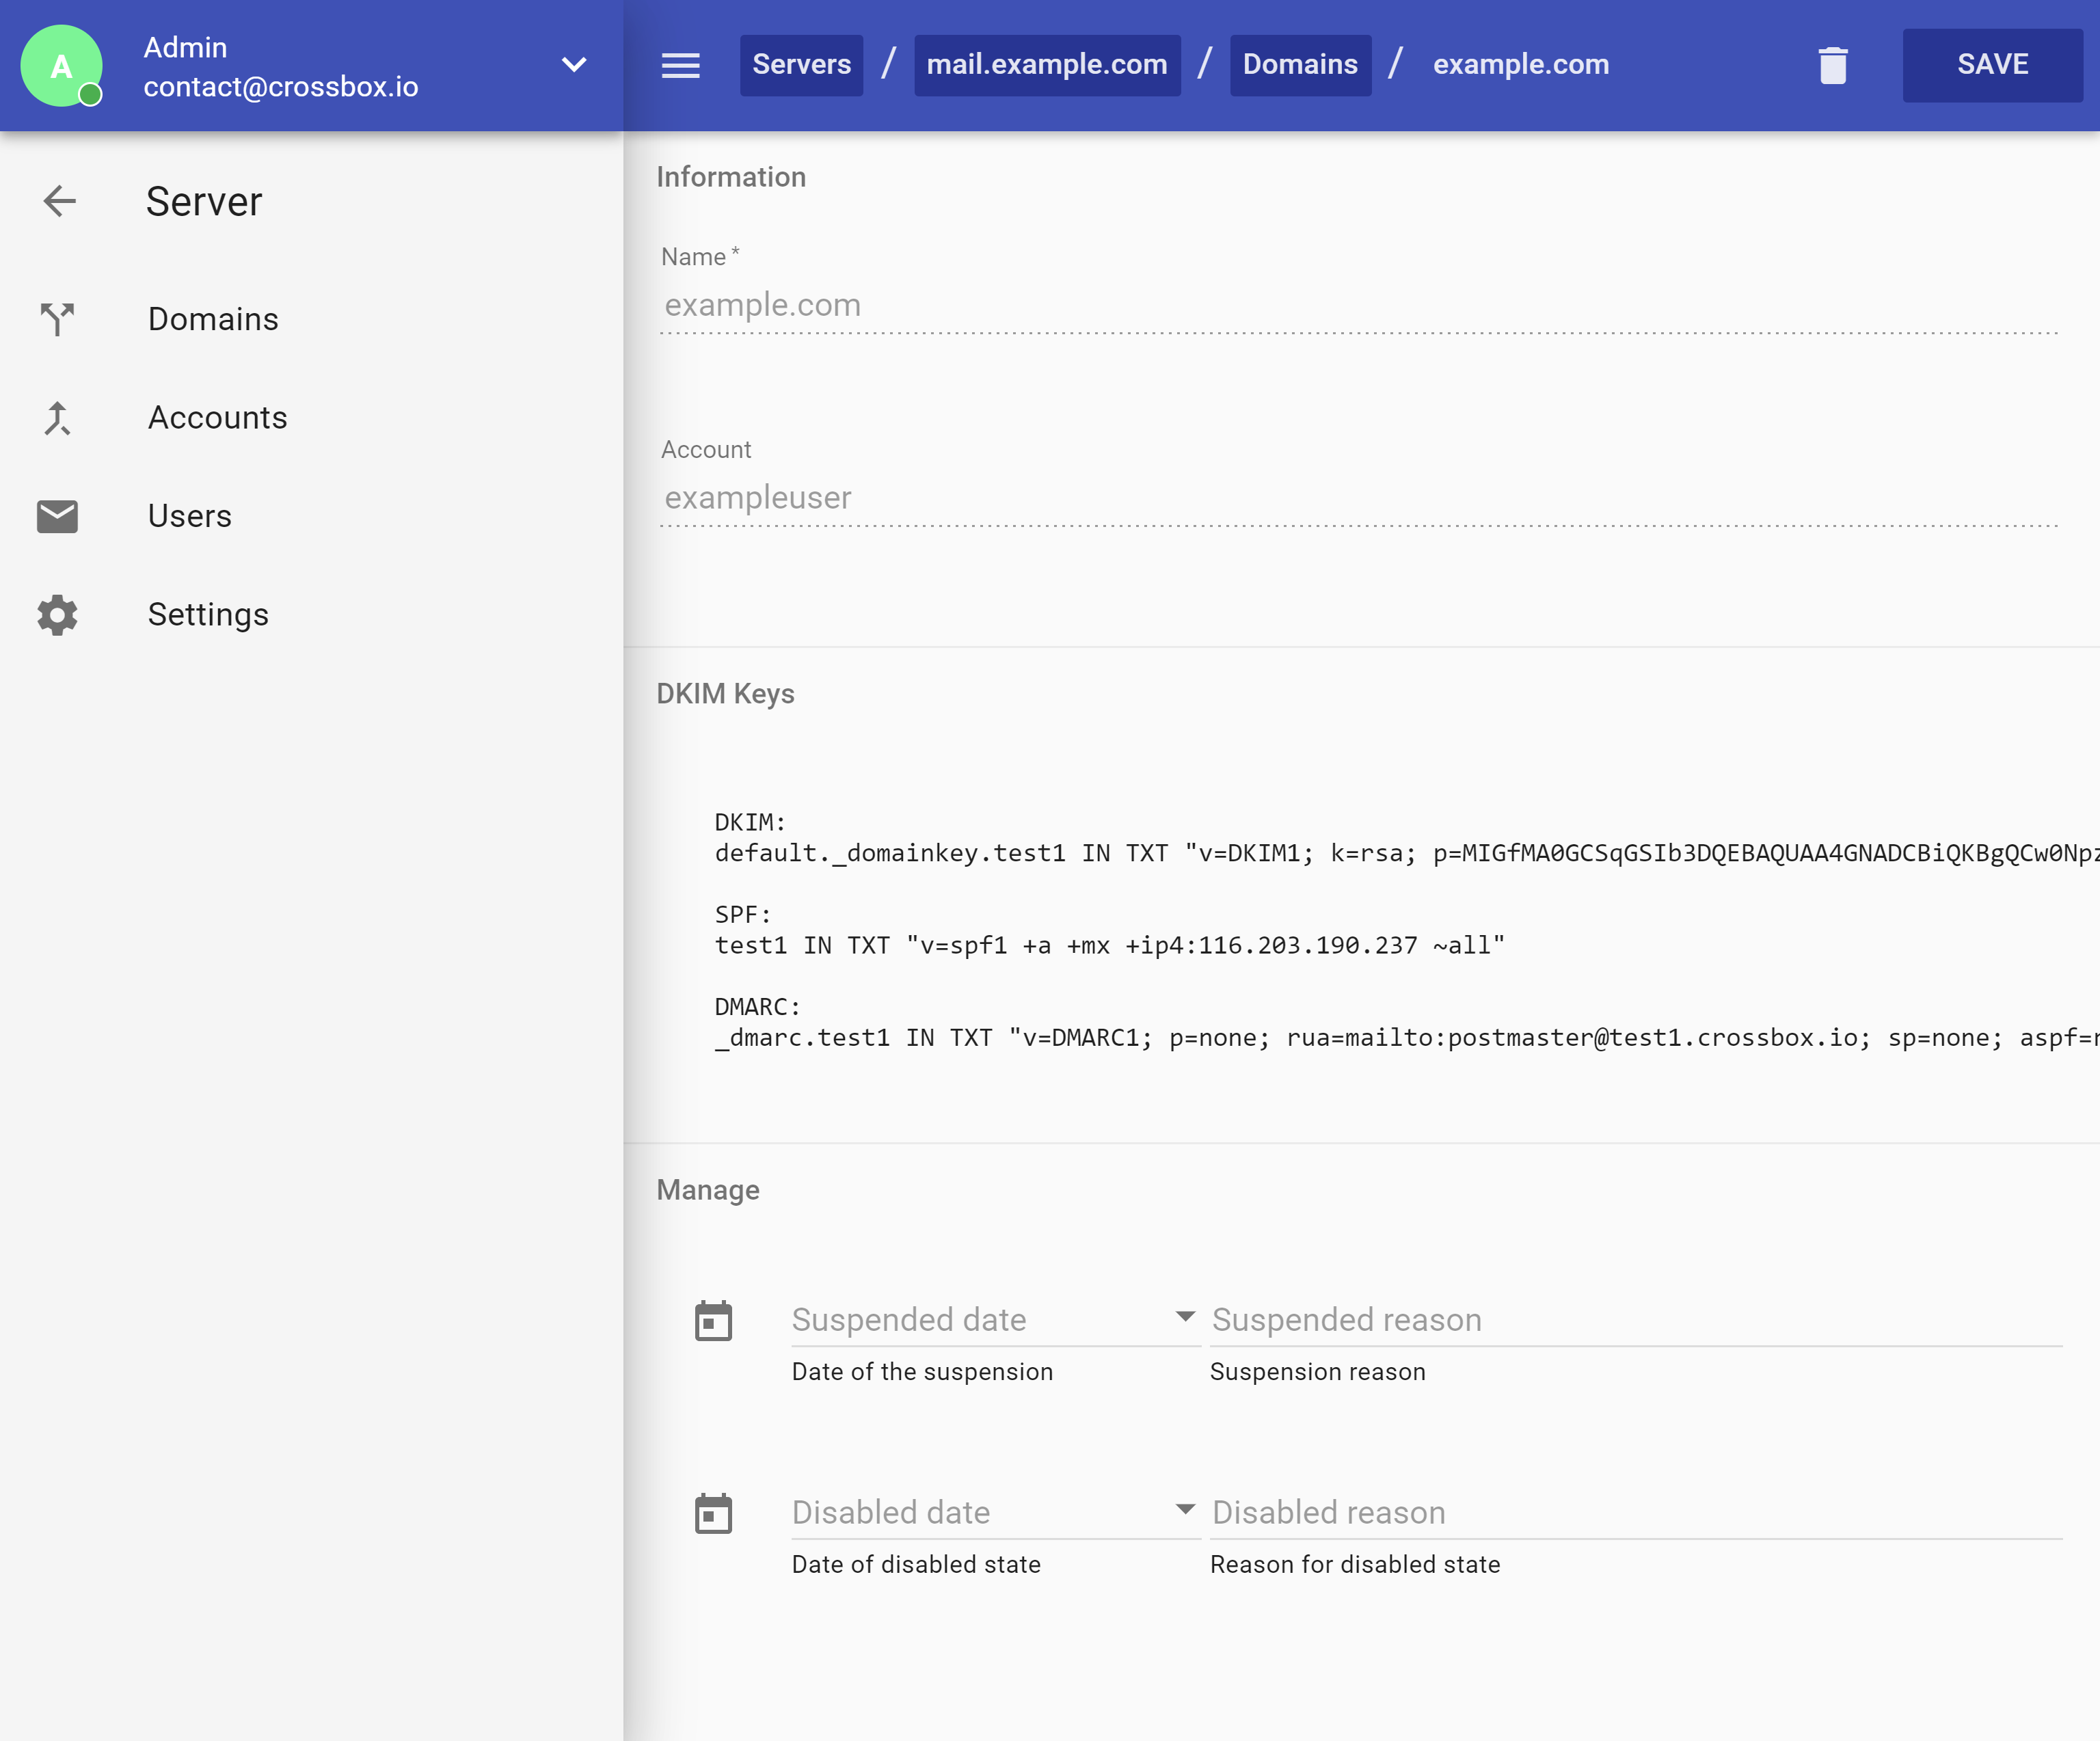
After you click Save, the domain will be created and you can proceed to add e-mail addresses by creating your first CrossBox user.
When submitted, the form will also output DNS records for DKIM, SPF, and DMARC. Make sure you add these to your domain's DNS zone so the outgoing emails can be correctly signed, which maximizes the deliverability:
Adding a CrossBox Account and Email Address (Standalone only)
- Go to Admin -> Servers
- Pick a server where the domain resides
- Go to Users -> Click on the FAB button in the bottom-right corner
- Fill in the form:
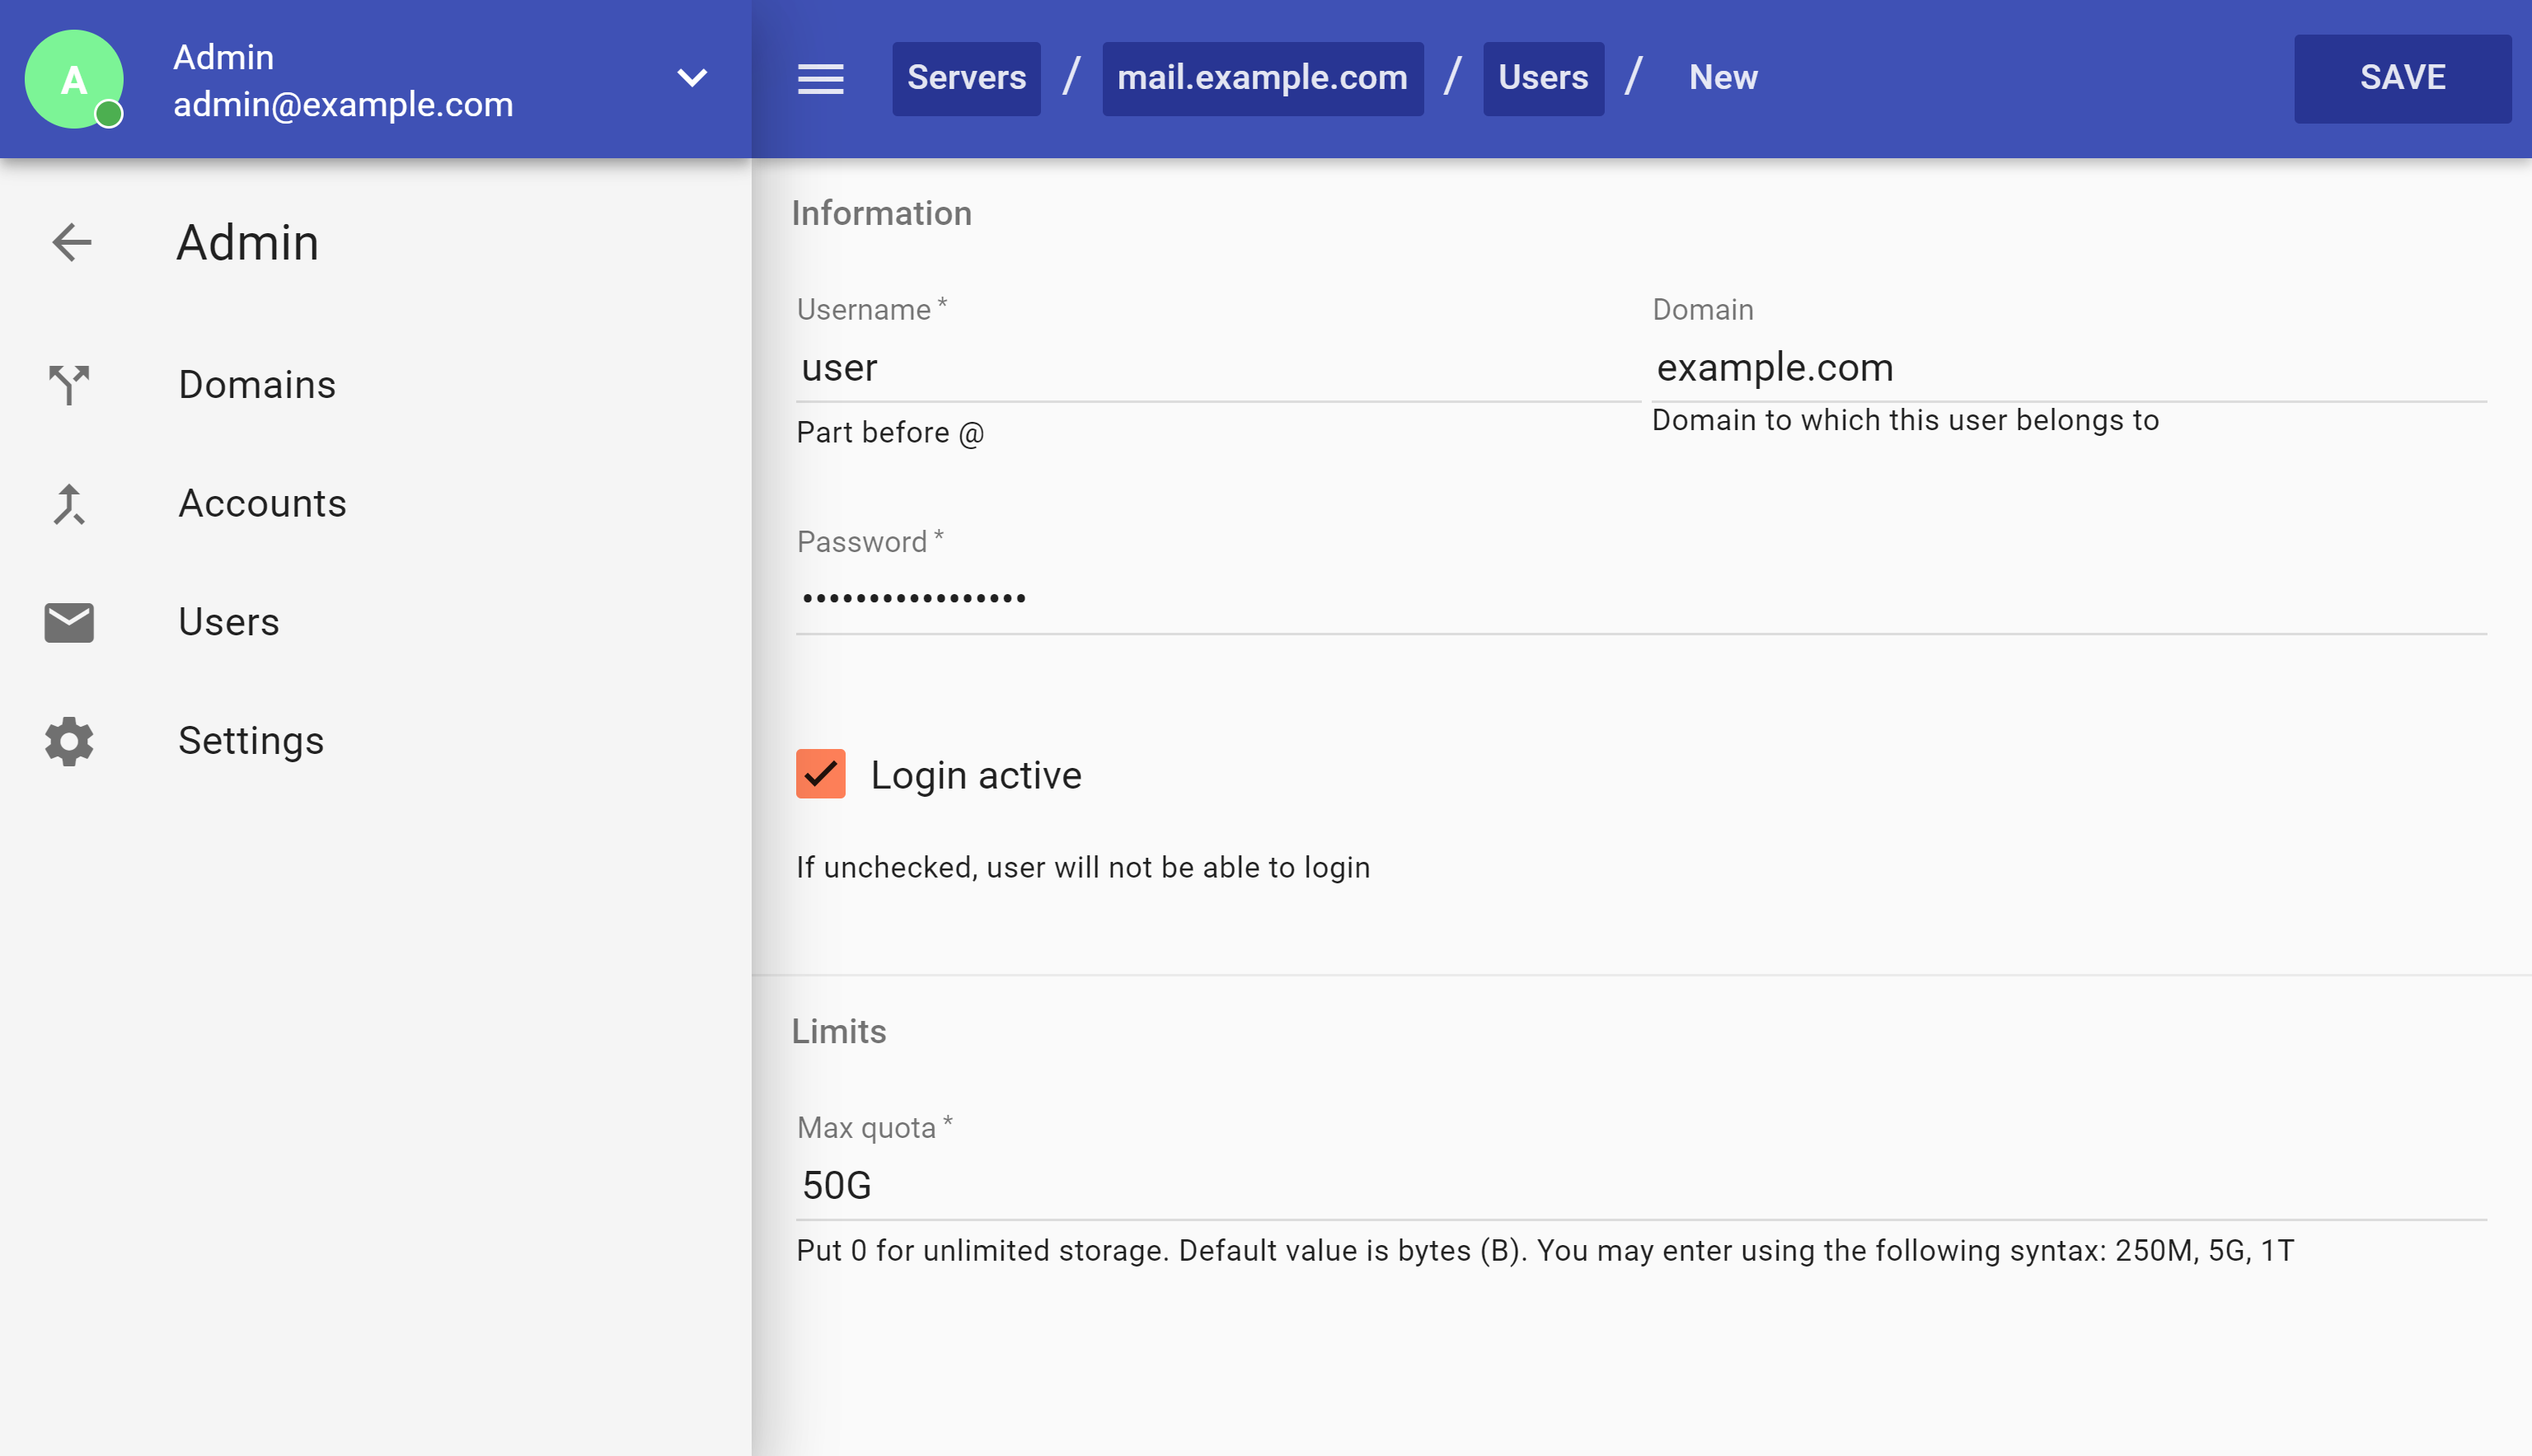
- Username is the first part of the e-mail address. For example joe.doe
- A domain is the second part of the e-mail address. For example domain.com
- Enter the password user will use to access CrossBox and IMAP/POP3/SMTP protocols
- Login active checkbox defines if a user is allowed to log in
- Max quota is a quota limit that CrossBox will not allow the user to exceed
After you click Save, the CrossBox user you specified will be created along with a fully functional e-mail address.
Managing a Server
To manage a CrossBox Server login to your Admin Area, and click on a server you wish to manage.
Easy to use Admin Interface lets you stay in full control over:
- Server status (stop/start/restart)
- Domains
- Users
- System Accounts
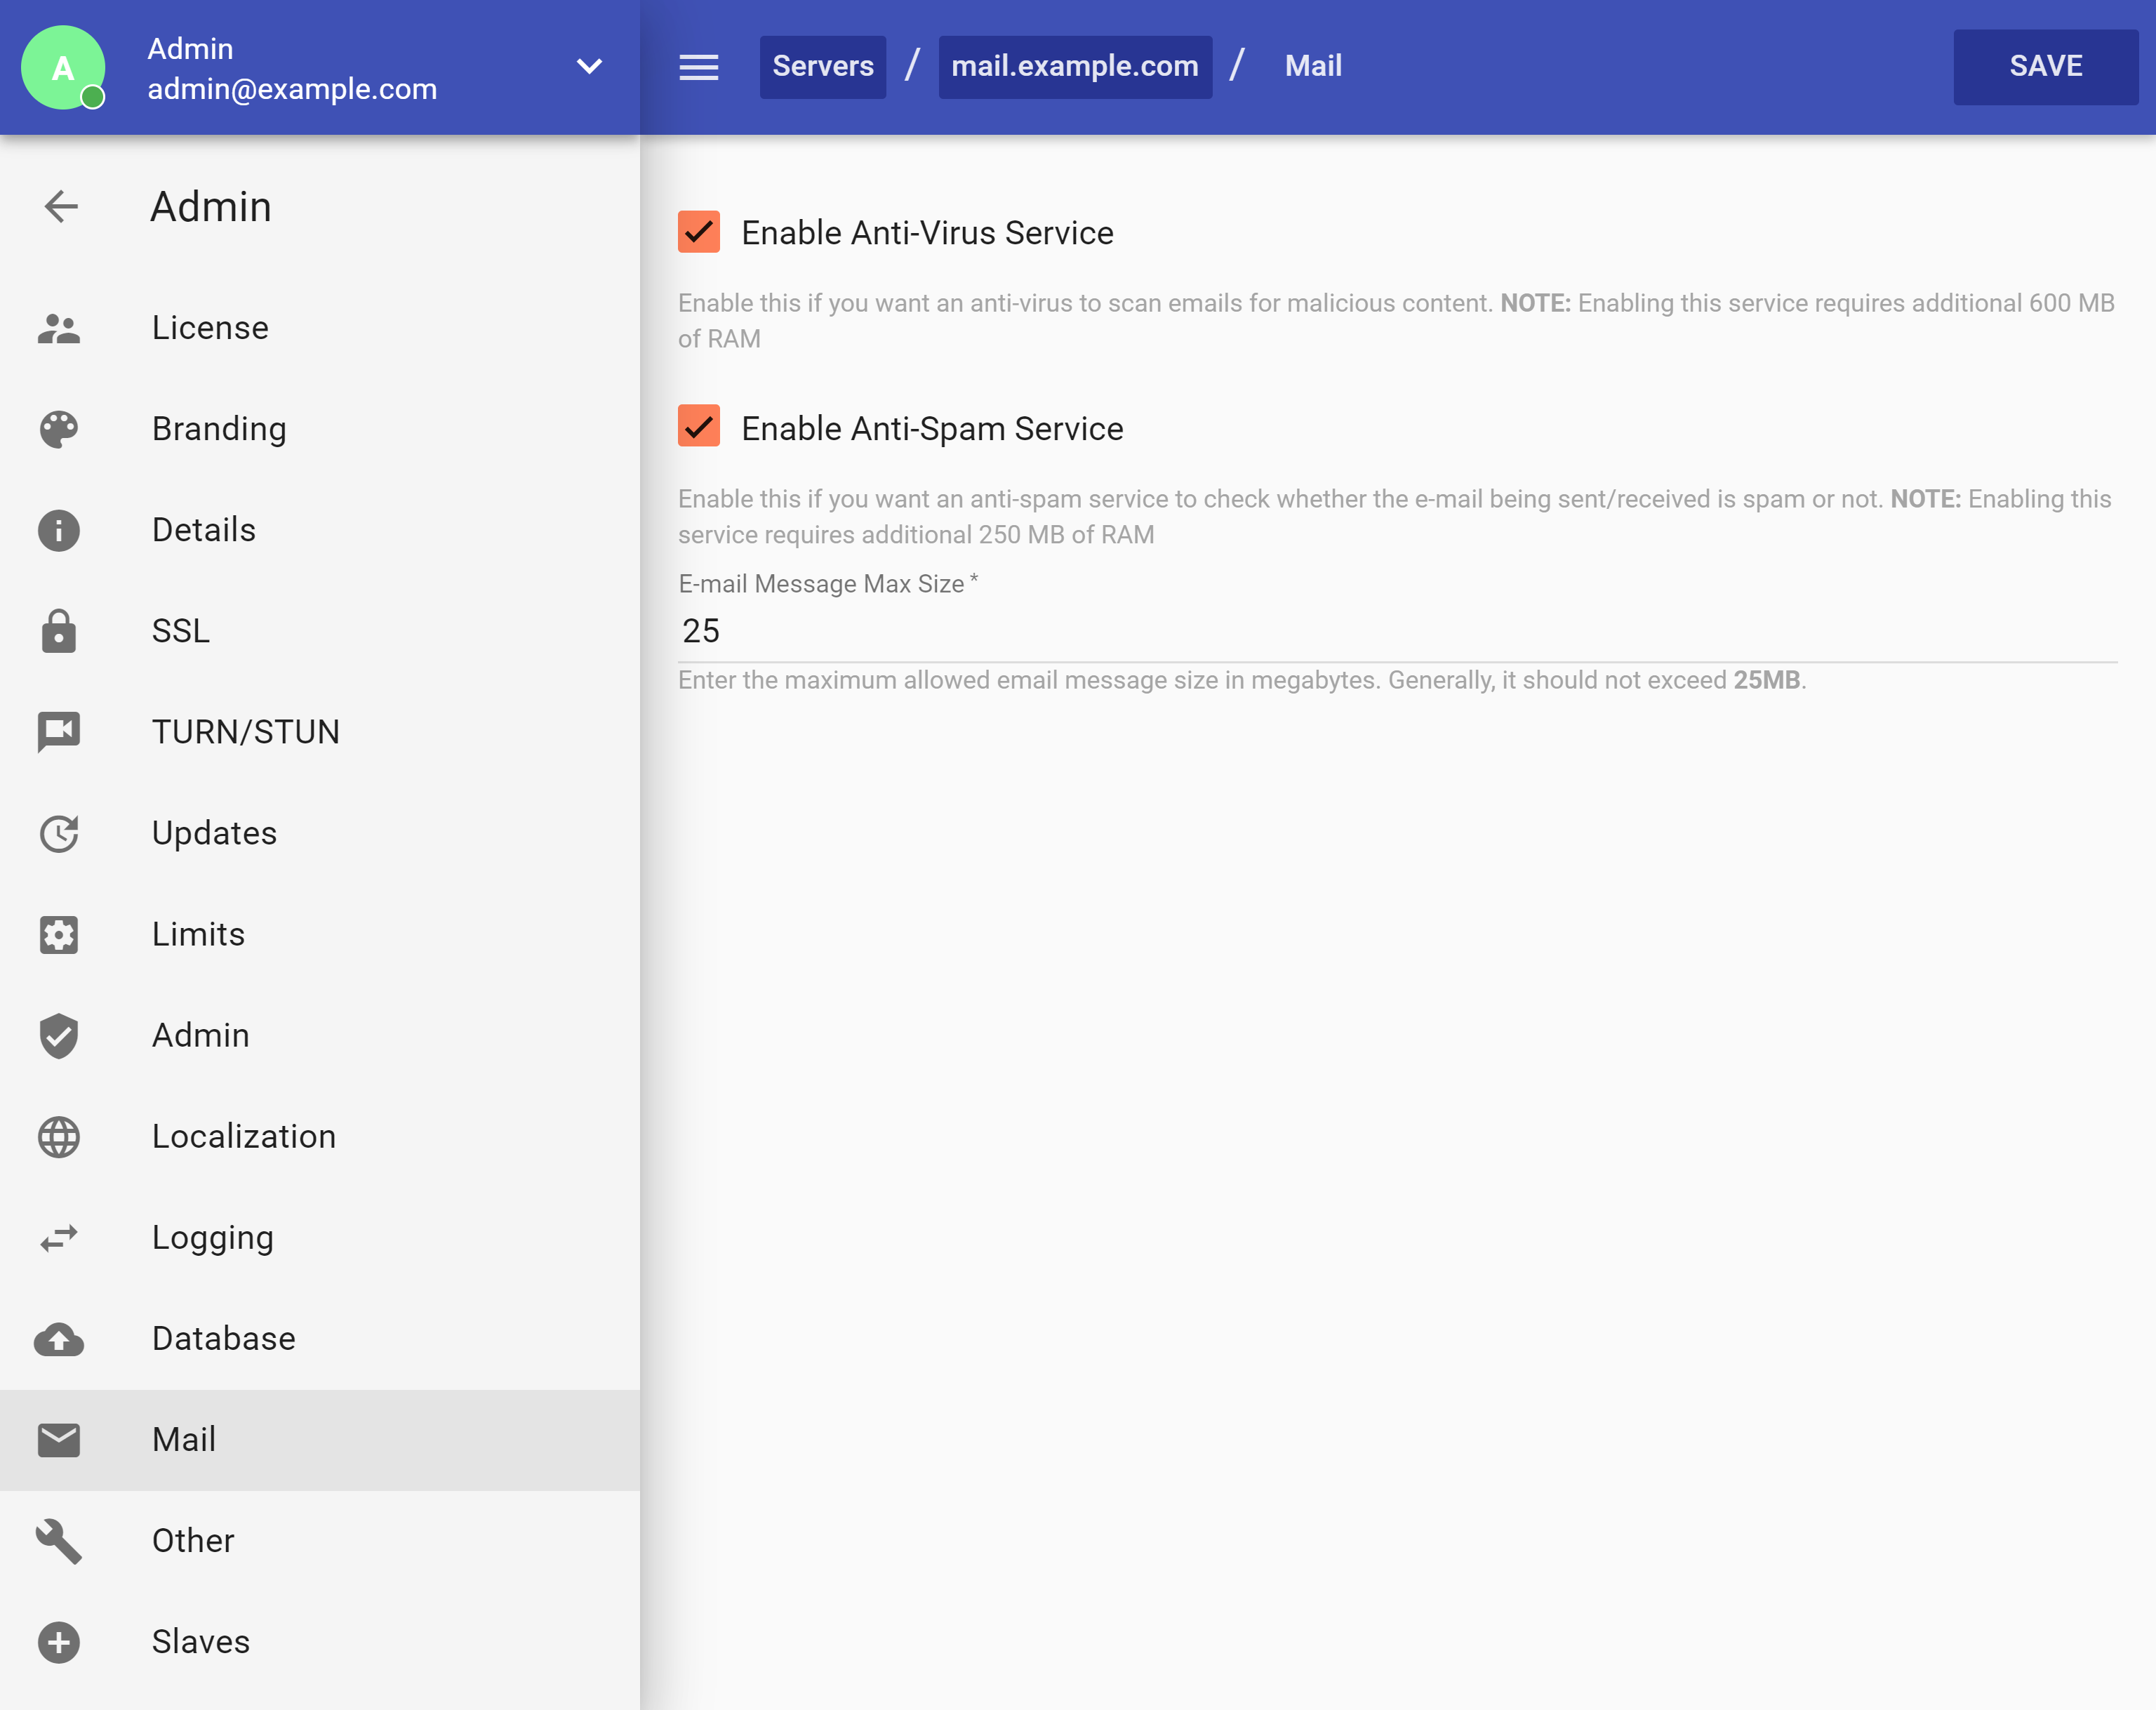
Changing Server's Settings
To change the CrossBox Server Options, login to your Admin Area, pick a server you wish to modify and click "Settings".