Quick Installation
Intro
First, please make sure that you checked out the Requirements before you start with the installation.
To install CrossBox you need to have a valid and active license. If you don't have one, you can purchase it here.
Here we will show you how to install CrossBox on a single server. If you plan to install CrossBox on multiple servers, please head out to our CrossBox Cluster documentation to learn how you can unify communication across different servers and configurations.
Installation
Run the Command
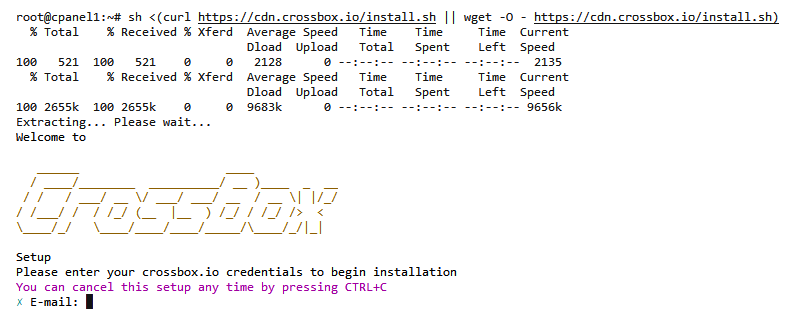
SSH into your server and run the following command as root:
sh <(curl https://cdn.crossbox.io/install.sh || wget -O - https://cdn.crossbox.io/install.sh)
Then proceed to log in with your CrossBox.io account:
After a successful login, you'll find the URL that you can now use to start the installation via your web browser.
The URL will be similar to the one shown below, but unique to your installation instance:
Access the Installation via the Web Browser
Open your favorite web browser and paste the URL that you copied.
Configure
Almost everything is already pre-populated for you and the entire process takes about ten minutes or often less, depending on your server's performance.
Detailed Help
If you're not sure what to enter in a certain field during the installation, just click on the "Learn more" link which is displayed beneath it:
By clicking it, you'll be taken directly to that option's more detailed documentation.
Start the Installation
After you click the "Install" button, CrossBox will start setting everything up. You can track the progress in real-time as shown below:
Finish the Installation


.png)
.png)
.png)
.png)